Description
Receipt Printer 9 Pin Bidirectional 72mm USB BT Low Noise Desktop
Receipt Printer 9 Pin Bidirectional 6mm/s Clear Printing Low Noise BT Desktop Printer
Item Type: Receipt Printer
Material: ABS
Printing Method: 9 pin row bidirectional printing
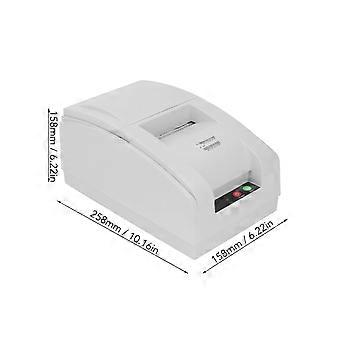
Effective Printing Paper Width: Approx. 72mm / 2.83in
Print Line Width: 24 Chinese characters, line 48 English characters, line or 36 Chinese characters, line 72 English characters, line
Paper Requirement: 75.5 ± 0.5mm
Chinese Character Encoding: GBK
Built in Font: For ASCII font (12 x 24 8 x 16) GBK (24 x 24 16 x 16)
Instruction Set: ESC POS compatible instruction set
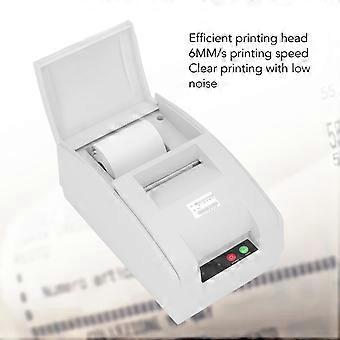
Printing Speed: 4.5 lines/second
Printable Content: English, numbers, various symbols, Chinese characters, 1D, 2D, images
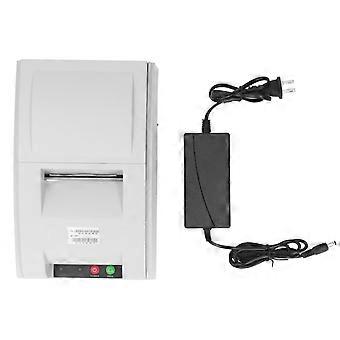
Communication Interface: USB, 232 serial port
BT Power Adapter: 24V 2.5A
Detection Function: Paper shortage detection, overheating detection, support for black label positioning detection
Paper cutting method: manual paper tearing
1. Online mode
This printer has three online printing methods:
1. USB connection method
It refers to connecting and using this printer on a for Windows 9x, for ME, for 2000, for XP operating system computer.
Operation Method: Insert one end of the randomly equipped data cable into the printer USB interface, and connect the other end to the USB interface of the PC host. Turn on the printer power to start printing. When using the USB connection method for the first time, a dedicated driver needs to be installed (the driver and installation method have been copied to the accompanying CD).
2. 232 serial port connection method
Connect one end of the serial data cable to the printer 232 serial port and the other end to the serial port of the device being used. The serial port defaults to COM1 with a baud rate of 115200.
3. BT connection method
It refers to the wireless connection printing between this printer's BT and handheld terminals such as for Android, for WINCE, and other systems' phones and MIDs.
Operation method: Turn on the printer power switch, turn on the BT function of the handheld terminal, and complete the BT pairing with the printer. The BT name of this printer is Qsprinter, and the pairing code is 0000. Once the pairing code is successfully selected and connected, it can be printed.
If the printer device cannot be found using the above method, please try restarting the printer and conducting BT search and pairing again.
Kind reminder: The BT printing and USB printing methods of this printer cannot be used simultaneously.
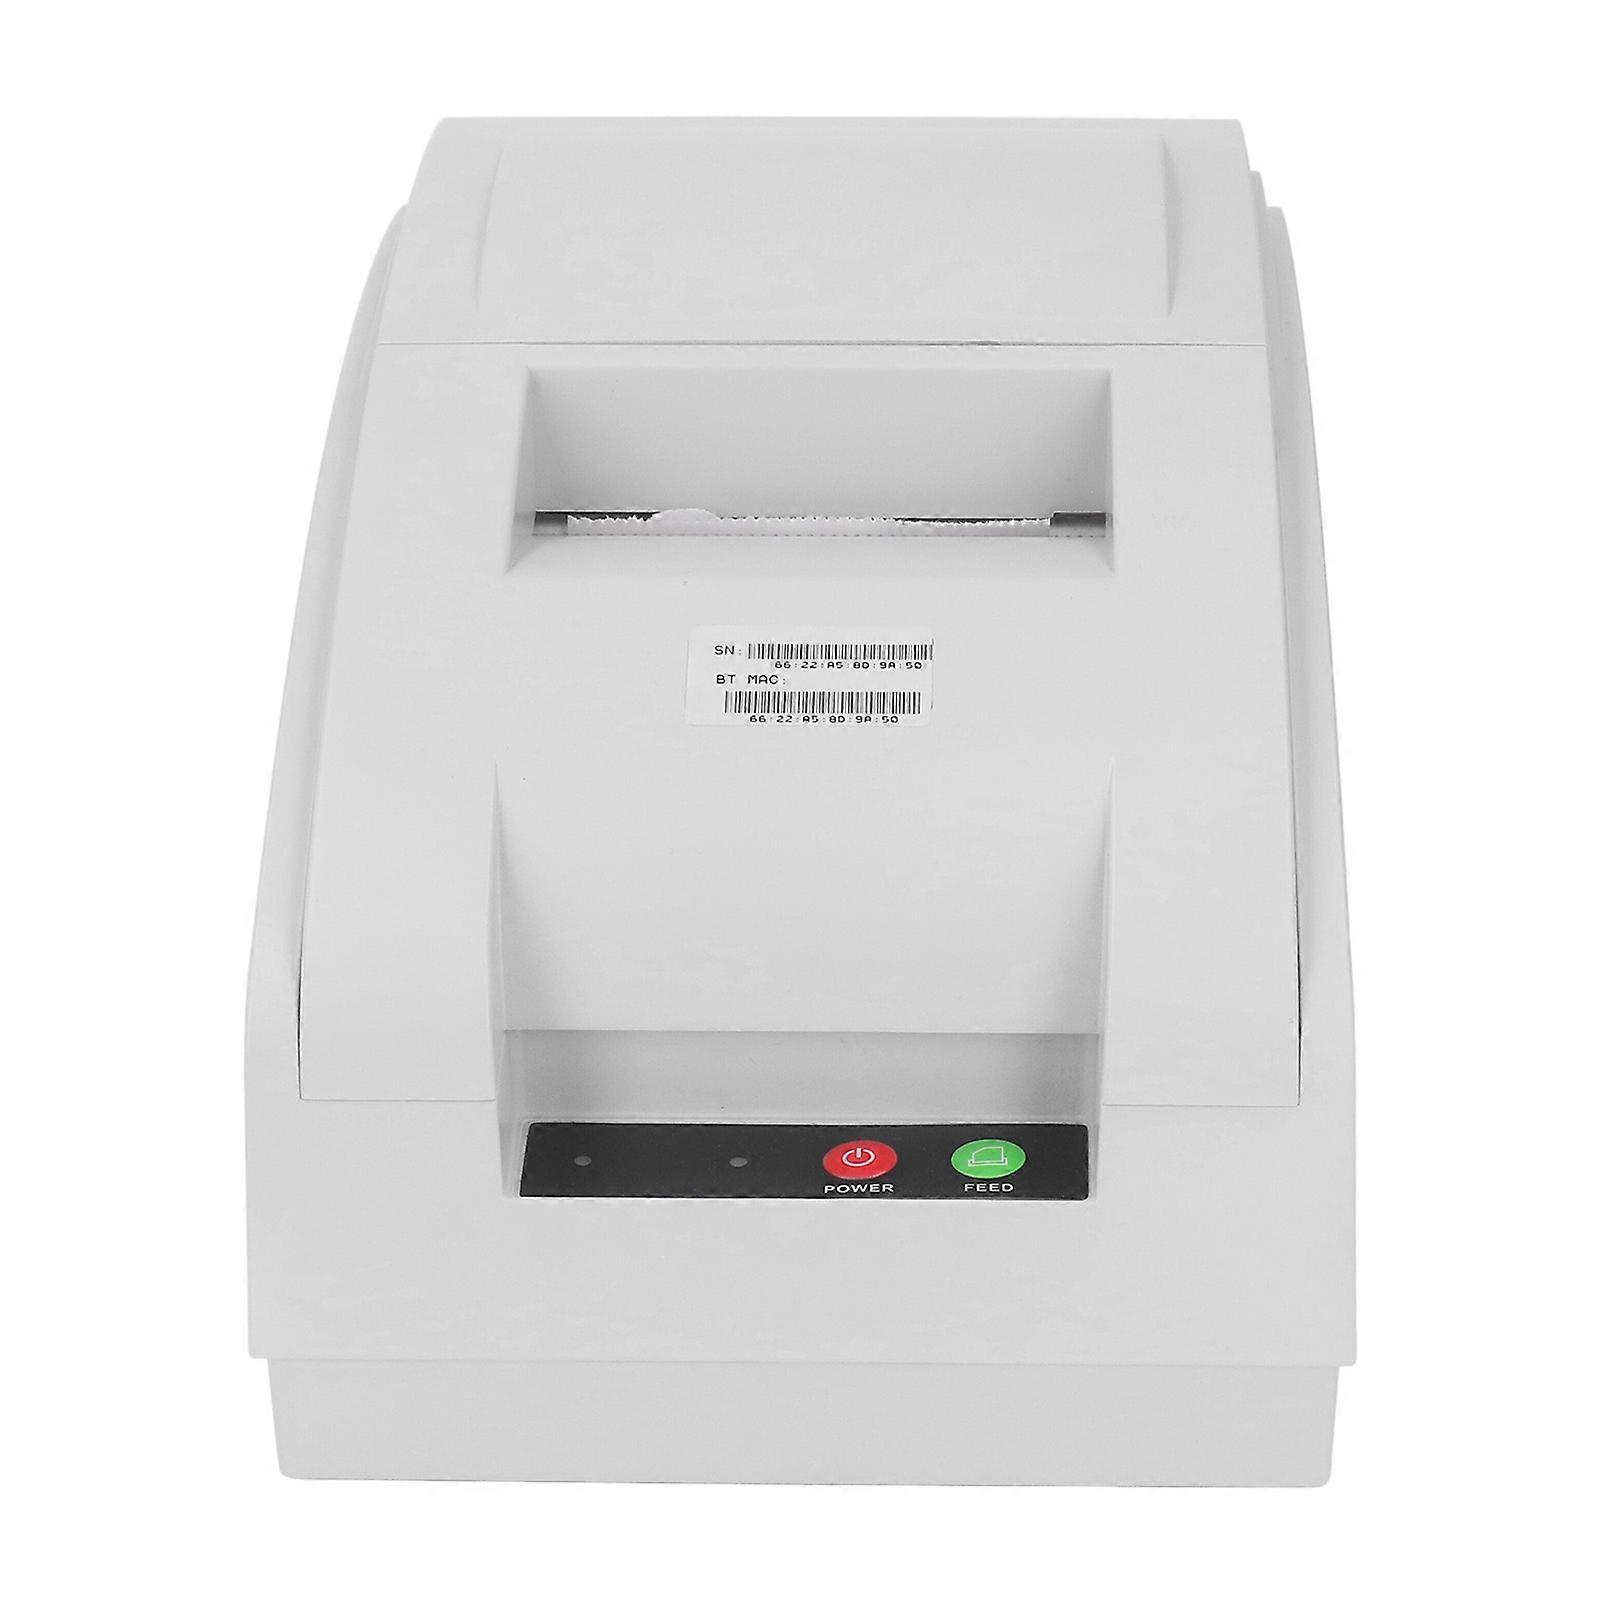
2. Printer panel indicator lights and button instructions
1. POWER key: power on key
When turning on the printer power switch and pressing the POWER key, the power indicator light will turn on green, indicating normal startup;
2. FEED key: feed key
When in standby mode, press the FEED feed button to continuously feed the paper.
During the printing process, the feed button is invalid.
3. Indicator light: Red light and green light
Red light: Paper shortage status display red light;
Green light: The normal startup status displays a green light;
3. Installation of color bands
Before installing or replacing the ribbon, please turn off the printer power switch and ensure that the printer has not received data, otherwise data may be lost.
The operation method for installing the ribbon is as follows:
1. Open the printer cover.
2. Install the ribbon box into the ribbon card slot and rotate the ribbon box knob in the direction of the arrow on the ribbon to tighten the loose part of the ribbon.
Insert a ribbon onto the print head and push the ribbon box until it clicks tightly
3. Rotate the ribbon box knob 5 to 6 turns in the direction of the arrow on the ribbon to tighten any loose parts of the ribbon.
Kind reminder: It is recommended e original color bands. If using inferior or inferior color bands, it will affect the printing effect and shorten the service life of the print head.
4. Installation of printing paper
The printer uses 76mm premium 1 sheet regular continuous paper or 2 to 3 sheets of self copying paper. When the printer detects that there is no paper on the sensor, the red indicator light flashes and waits for paper to be loaded. During the paper loading operation, when the paper sensor detects the paper again, the indicator light turns off and the paper feeding motor printer automatically feeds the paper. After the paper is ok, if the expected effect is not achieved, you can manually feed the paper by pressing the FEED button.
Kind reminder:
When loading paper, the paper end should be cut flush and inserted into the paper inlet. Hold both sides of the paper and insert it straight into the paper slot until the paper feeding motor rotates, and the printer will automatically feed paper. If the paper end gets stuck at the paper inlet when loading, causing a paper jam, wait for the automatic paper feeding motor to stop and pull the paper back out.
Cut off the creases at the end of the paper and reapply the paper.
Do not use paper to stick to the core of the paper roll, otherwise the printer canno
-
Fruugo ID:
410109845-868372247
-
EAN:
8771331760841
Delivery & Returns
Dispatched within 24 hours
Shipping from China.
We do our best to ensure that the products that you order are delivered to you in full and according to your specifications. However, should you receive an incomplete order, or items different from the ones you ordered, or there is some other reason why you are not satisfied with the order, you may return the order, or any products included in the order, and receive a full refund for the items. View full return policy